
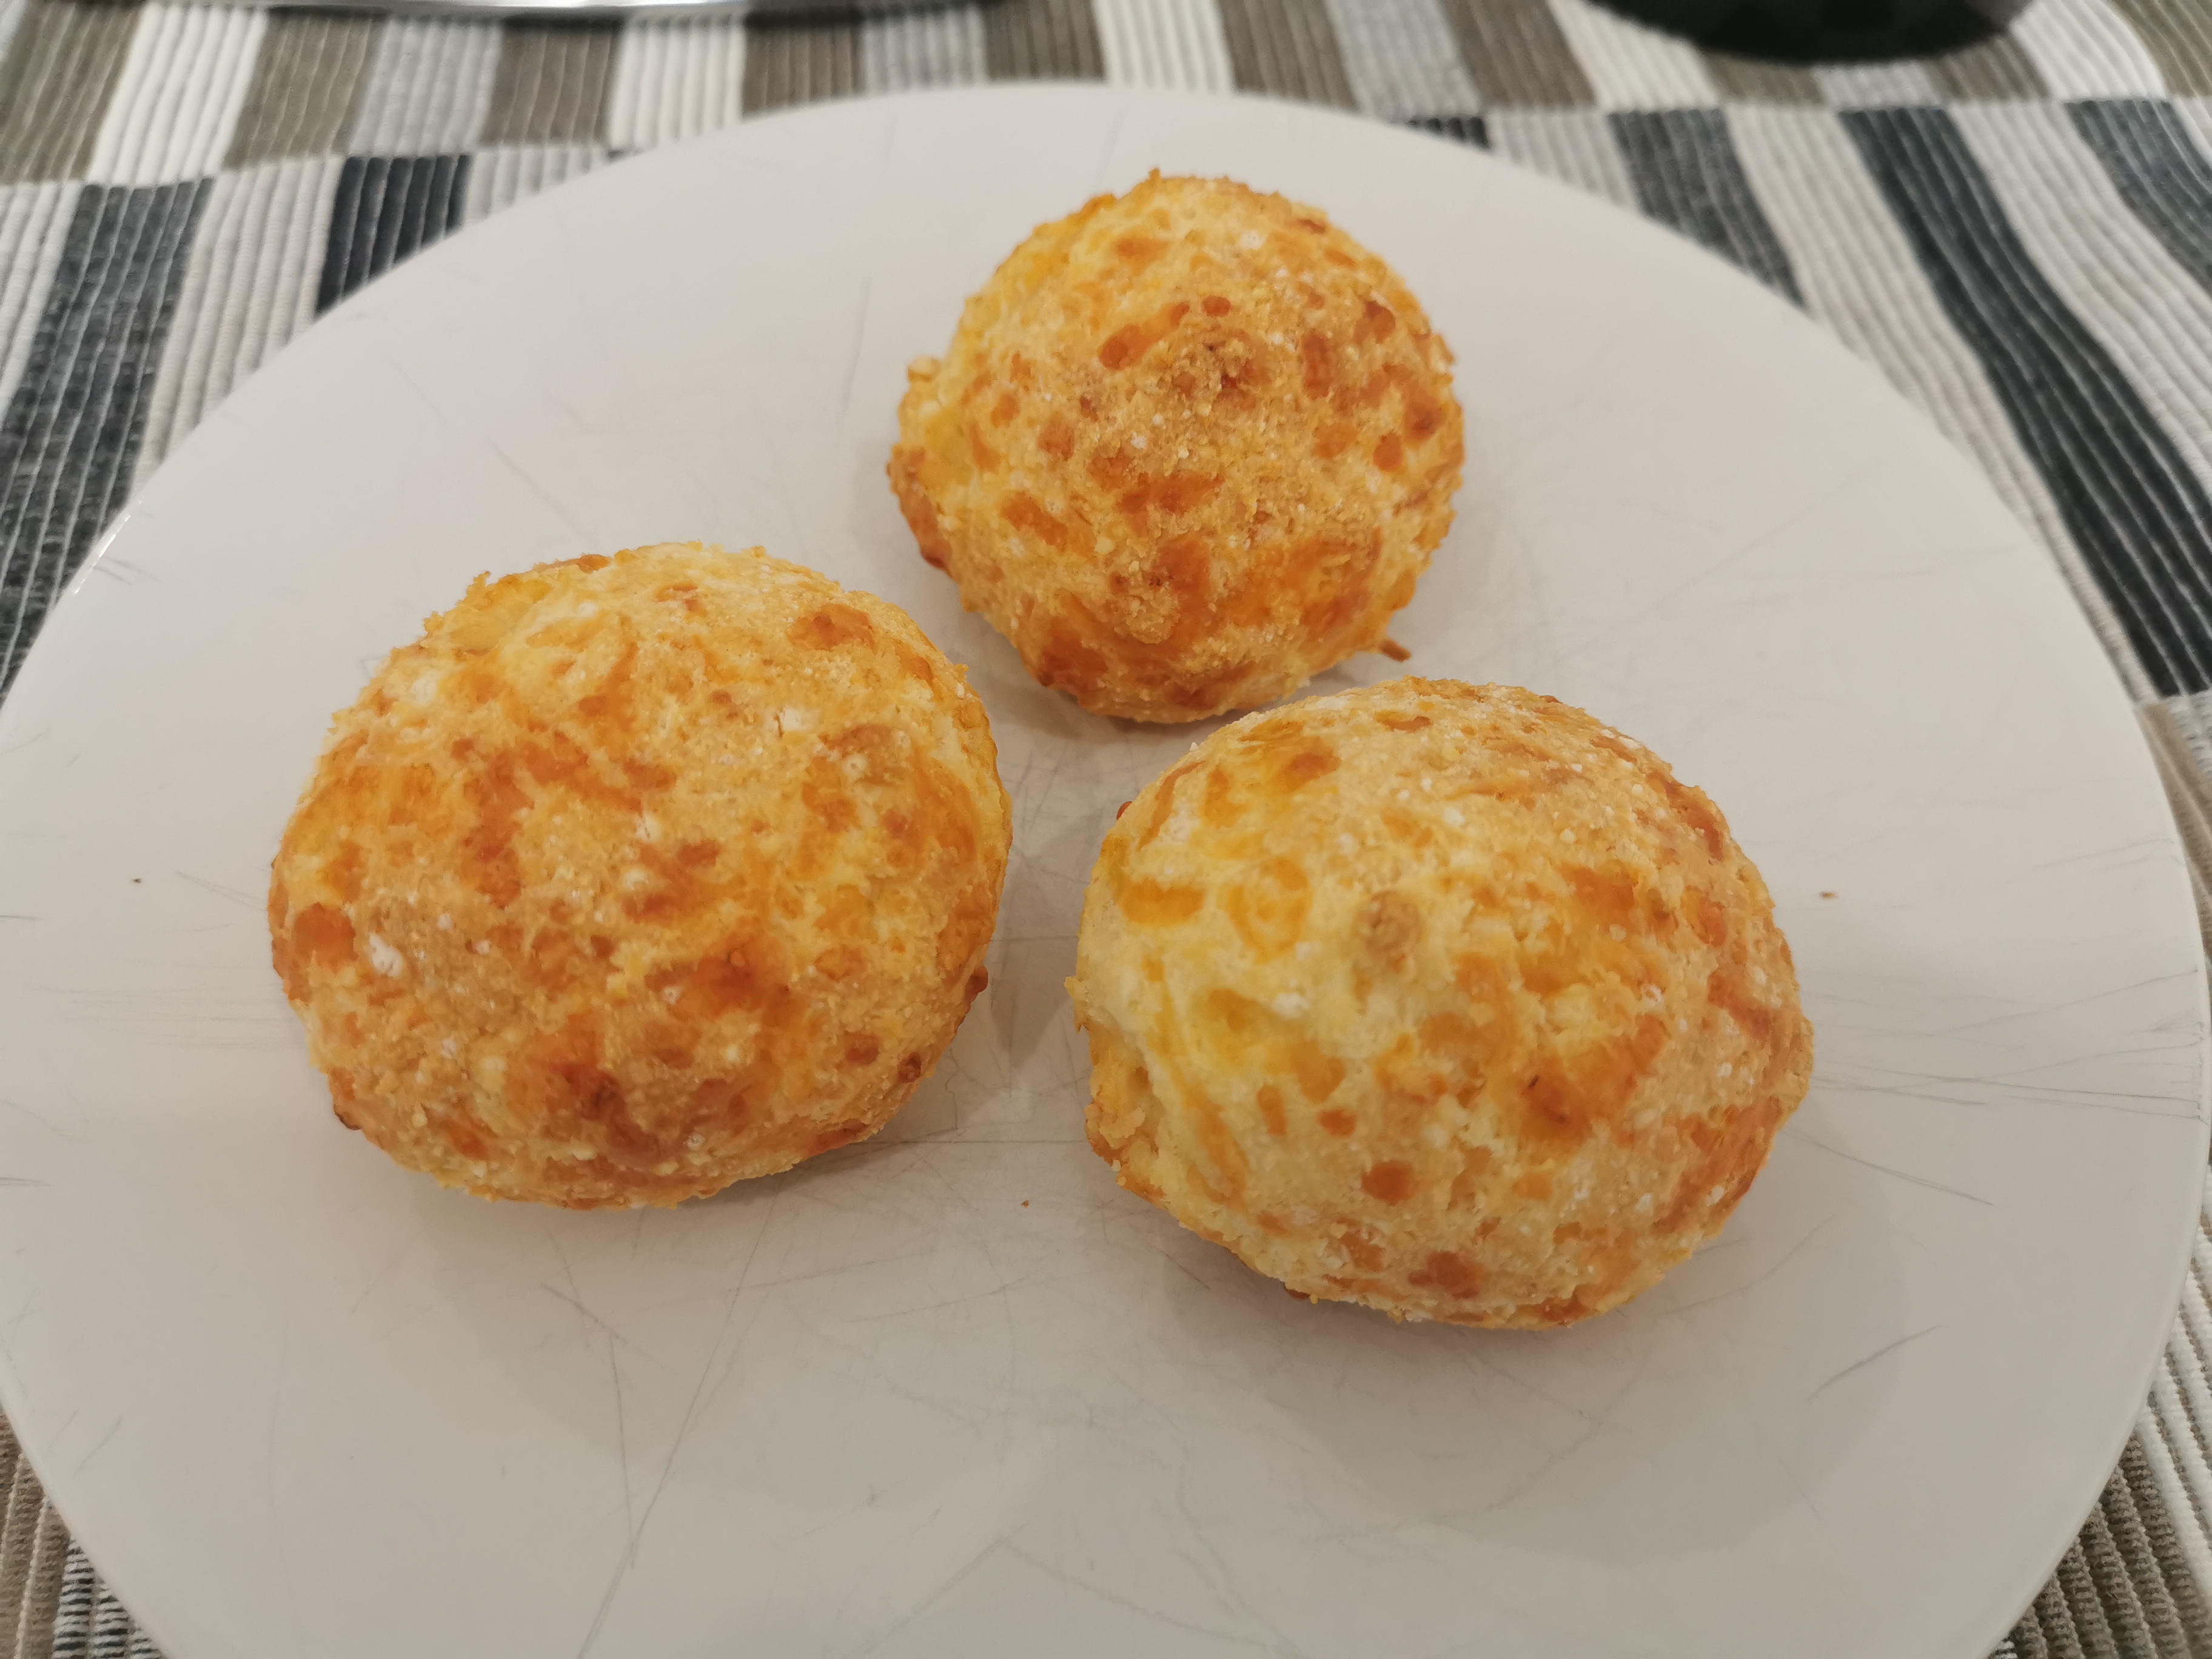
Pão de Queijo/Cheese Bread “a la Ricardo”
🇧🇷 Introdução / 🇺🇸 Introduction
🇧🇷 Muitas pessoas gostam do Pão de Queijo que eu faço e me pedem a receita, então resolvi escrever este post para facilitar! Como moro na Alemanha e recebo pedidos pela receita de Brasileiros e não-Brasileiros, resolvi escrever tudo em mais de uma língua a fim de maximizar o número de pessoas que podem entendê-la!
Quanto aos ingredientes, fiquem a vontade para usarem alternativas ou equivalentes (ex: leite, queijo). Os produtos que mostro aqui podem todos ser achados em Berlim, incluindo o pó de mistura para Pão de Queijo!
Apesar de haver instruções na embalagem da mistura, recomendo que siga a receita abaixo para atingir sabor e consistência/textura muito melhores! 😉
Abaixo um vídeo (infelizmente apenas em inglês), onde mostro um timelapse do processo com alguns comentários.
🇺🇸 Many people enjoy the cheese bread that I bake and ask me for the recipe, so I’ve decided to write this post to make things easier! Since I live in Germany and both Brazilians and non-Brazilians ask for the recipe, I’ve decided to write it in more than one language in order to maximize the number of people that will be able to understand it!
As for the ingredients, feel free to use alternatives or similar (e.g.: milk, cheese). The products I show here can all be found in Berlin, including the “Pão de Queijo” powder mix.
Despite the mix showing instructions on how to prepare them, I recommend you follow the recipe below for the best taste and consistency/texture. 😉
Below you find a video where I show a timelapse of the entire process with a few comments (in English).
I didn’t rehearse/prepare prior to recording this, so disregard my lack of better words for describing some of the things! 🙂
🇧🇷 Ingredientes / 🇺🇸 Ingredients
| 🇧🇷 | 🇺🇸 |
|---|---|
| 250g de mistura Yoki para “Pão de Queijo” | 250g of Yoki “Pão de Queijo” mix |
| 250g de queijo ralado Emmental | 250g of grated Emmental cheese |
| Aproximadamente 180ml de leite integral (3,5%) | Approximately 180ml of whole milk (3,5%) |
| 2 ovos (preferencialmente grandes) | 2 eggs (preferably large) |
🇧🇷 Para porções maiores, simplesmente multiplique os valores apropriadamente. Eu normalmente uso os valores acima ou faço tudo em dobro.
🇺🇸 Making bigger portions is as easy as multiplying the values accordingly. I either use the values above or, for larger batches, I double everything.
Yoki “Pão de Queijo” mix:
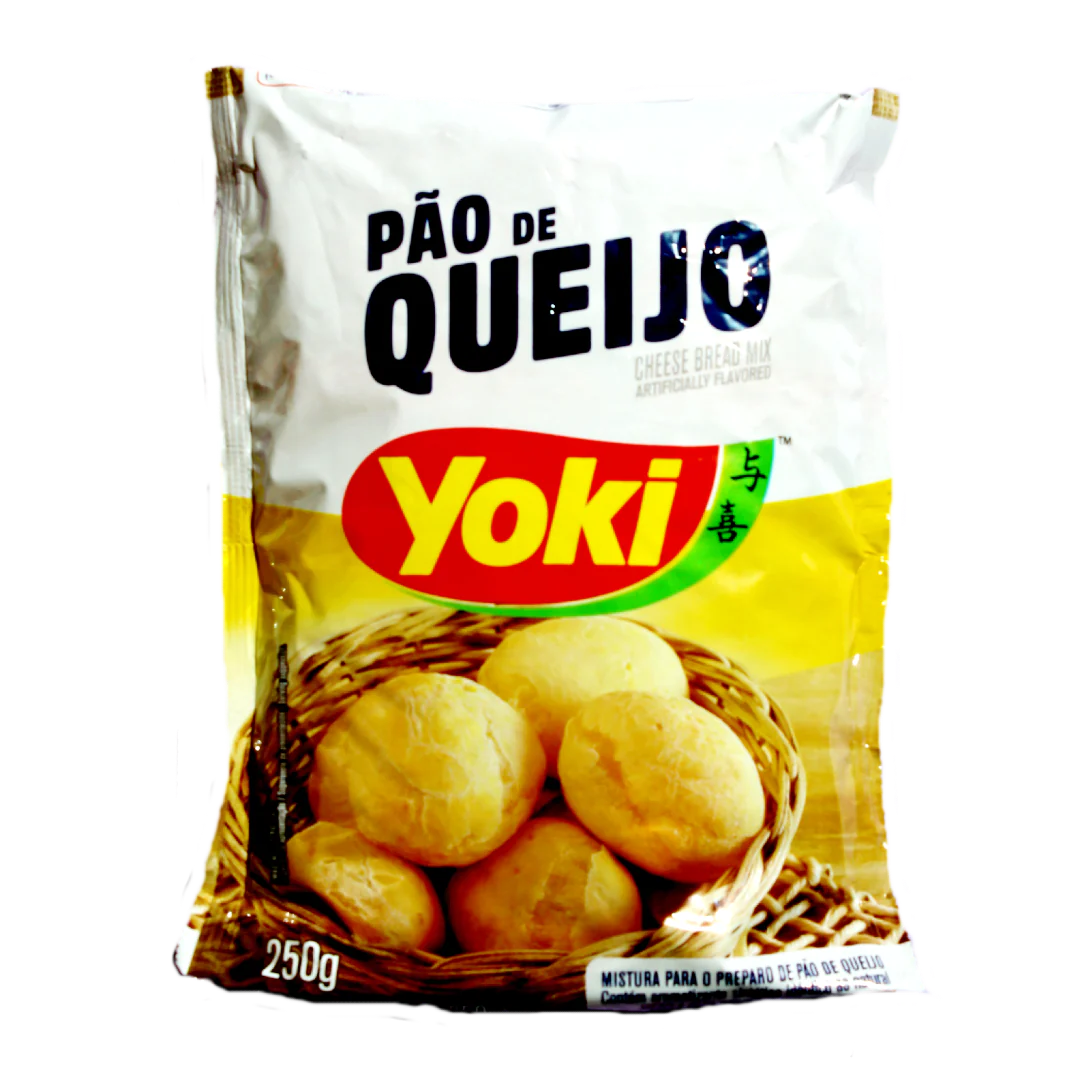
🇧🇷 Em Berlim dá para comprar a mistura em diferentes lugares, tanto online quanto em lojas físicas. Eu compro sempre no mercado “Aqui España” pois eles também vendem o pacote grande (1kg), além do de 250g. Abaixo alguns links de outros lugares onde é possível comprar a mistura!
🇺🇸 In Berlin you can buy the mixture in different places, either online or in physical shops. I always buy it at the “Aqui España” market because they also sell the big package (1kg), besides the 250g one. Below you find a few links of other places where it’s possible to buy the mix!
🇧🇷 Instruções / 🇺🇸 Instructions
🇧🇷
- Prepare a assadeira do forno com papel manteiga e deixe-a de lado por enquanto.
- Em uma tijela grande, coloque a mistura Yoki com o queijo ralado. Utilize uma espátula grande para misturar gentilmente os ingredientes, de forma que o queijo ralado fique todo recoberto pelo pó, de forma a não ficar grudando.
- Em um recipiente separado, coloque o leite e os ovos e misture (pode ser usando um fuê ou mesmo um garfo), até ficar homogêneo. Isso ajudará na hora de misturar no próximo passo.
- Despeje aos poucos a mistura líquida na tijela com a mistura em pó e vá usando a espátula para incorporar tudo. Siga adicionando mais da mistura líquida até o fim. Ao final a massa estará bem pesada e difícil de mexer, mas é normal. Não há necessidade de misturar demais a massa, por isso pode ser feito à mão mesmo.
- Inicie o pré-aquecimento do forno a 180°C, com convecção
- Deixe a massa descansar por uns 5 minutos, pois isso ajuda na absorção da umidade e fará com que grude menos nas mãos na hora de moldar.
- Vá separando pedaços da massa e moldando delicadamente até ficar em formato redondo e preencha a assadeira (não aperte a massa, isso deixará o miolo mais macio). O tamanho é do gosto de cada um: pães menores precisarão de menos tempo de forno e tendem a ficar mais firmes dentro; pães maiores tendem a ficar mais macios.
- É normal grudar nas mãos, mas se você achar que ficou muito pegajoso conforme vai amassando, tente usar menos leite da próxima vez.
- Após preparar todos os pães na assadeira, leve-a ao forno pré-aquecido e asse de 20 a 24 minutos (varia com o tamanho dos pães). Eu costumo julgar o tempo baseado no visual dos pães conforme assam, mas para o tamanho que faço normalmente deixo por 24 minutos, sendo que com 15 minutos eu giro a assadeira para deixar as superfícies mais homonêneas e consistentes.
🇺🇸
- Prepare the oven tray with baking/parchment paper and set it aside.
- In a large bowl, add the Yoki mix with the grated cheese. Use a large spatula to gently mix the ingredients so the cheese is completely powdered (non-sticky).
- On a separate recipient, add the milk and the eggs and mix them together (either using a Fouet or even a fork), until they’re homogeneous. This will help with the next step.
- Gradually pour the liquid mix (milk+eggs) into the large bowl with the powder (mix+cheese) and use the spatula to incorporate it. Keep on adding the liquid mixture gradually, as you integrate further. In the end, the dough will be heavy and hard to mix, but that’s normal. No need to overmix (definitely don’t use an electric mixer), just do it manually.
- Preheat the oven to 180°C, with convection.
- Let the dough rest for 5 minutes, this will help it absorb the moisture and will make it stick a bit less on your hands in the next step.
- Take chunks of dough from the bowl and gently model them into balls, filling up the tray. The size of the cheese breads is of your own choice: smaller ones will need less time in the oven and tend to be a bit firmer inside; bigger ones will be softer inside.
- It’s normal for the dough to stick to your hands, but if you think it ended up sticking too much, next time try using a bit less milk.
- After using all the dough and filling up the tray, take it to the preheated oven and bake them for 20 to 24 minutes (depending on your choice of size). I judge visually as they bake, but for the size I usually make I bake for 24 minutes, turning the tray at around 15 minutes for more even and consistent surfaces.
Bonus
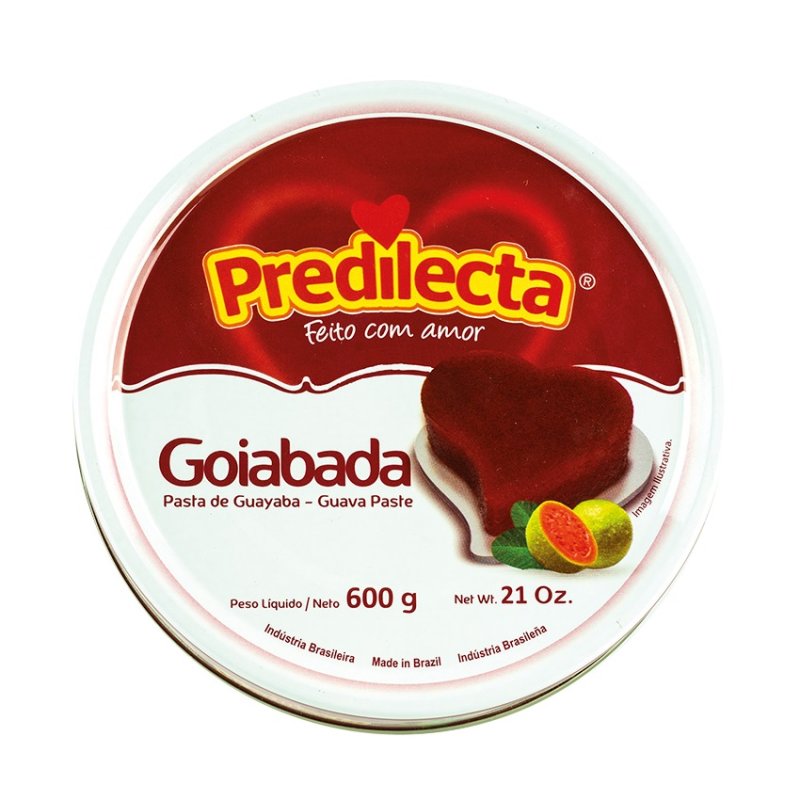
🇧🇷 Uma dica: se quiser experimentar algo diferente, recheie o pão de queijo com algo! Eu já cheguei a fazê-los com um pedaço de goiabada no meio de cada um (colocados antes de assar) e ficou bom!
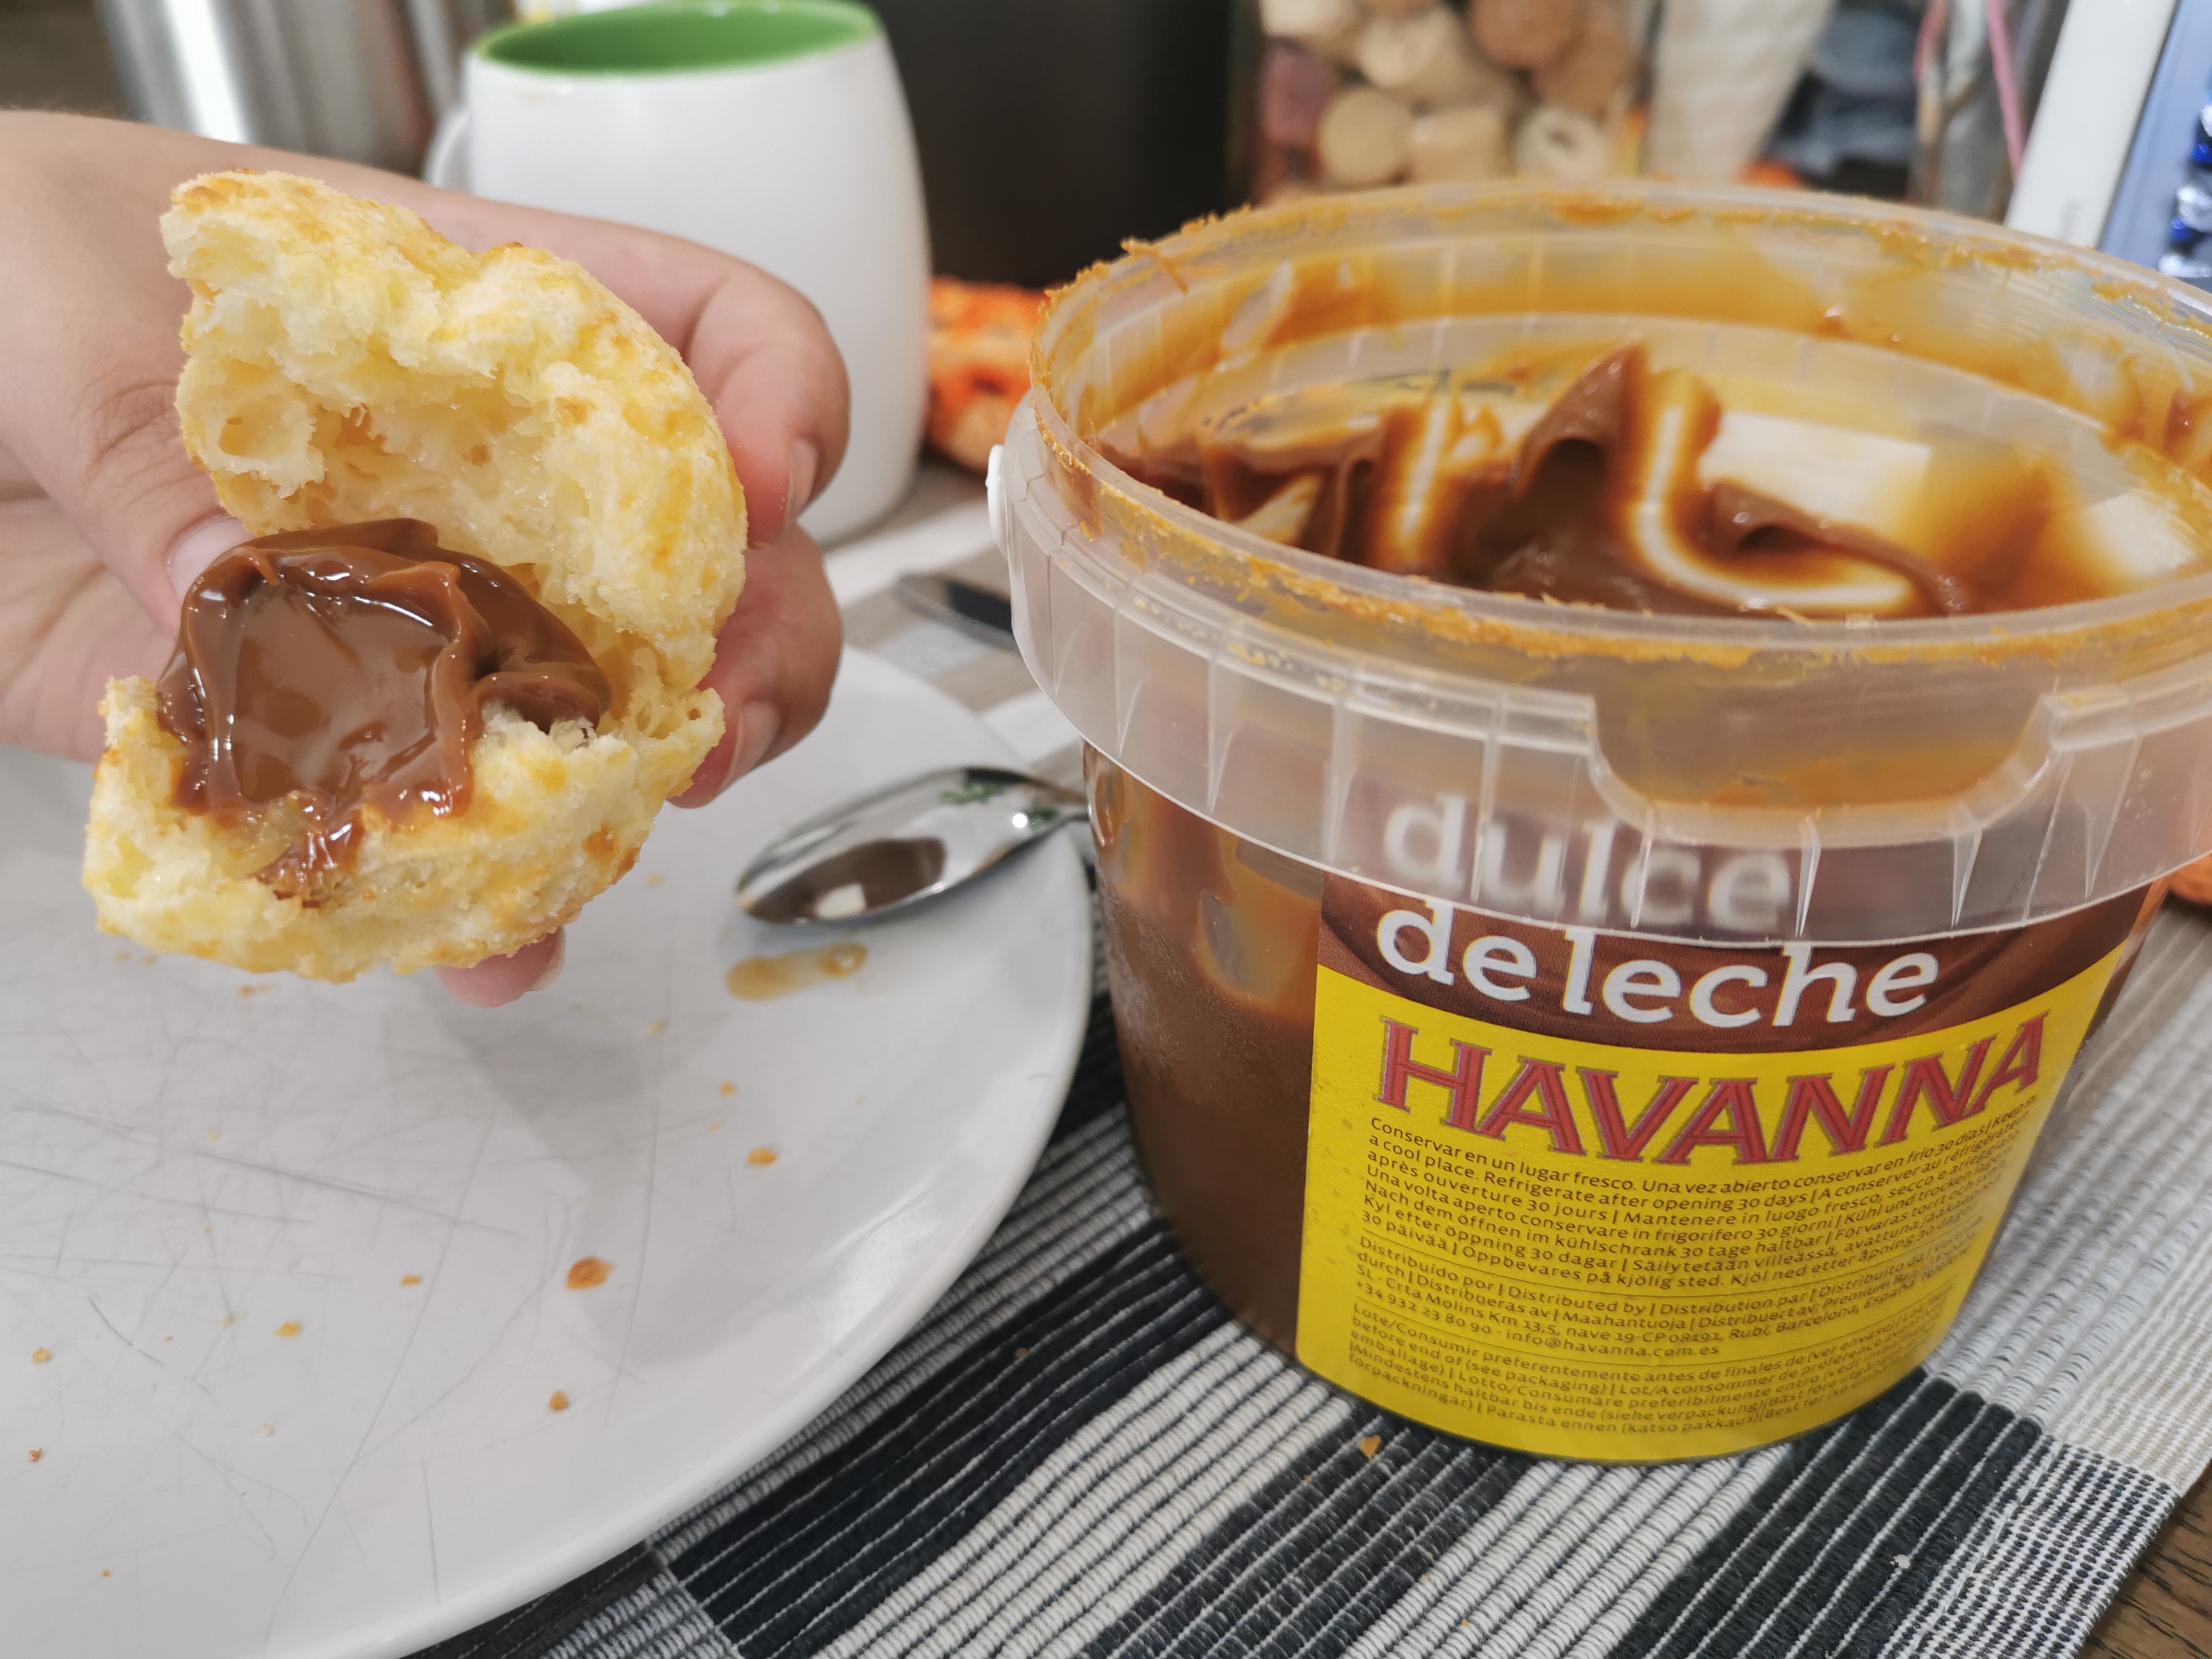
É possível também passar algo para recheá-los após assados, na hora de comer. Apesar de normalmente comê-los puros, eu particularmente acho que ficam gostosos com cream-cheese (Frischkäse) ou doce-de-leite!
🇺🇸 Tip: if you want to try something different, add something as a filling to the cheese bread! I once baked them with a piece of “goiabada” (guava paste) and they turned out pretty good!
It’s also possible to spread something in them after they’re already baked. Despite typically eating them without anything else, I do like them with cream-cheese (Frischkäse) or doce-de-leite as well!
🇧🇷 Você também encontra no supermercado “Aqui España”!
🇺🇸 You can also find this at “Aqui España” market!